Each Green Corner’s Seedling Starter Program relies on volunteers to foster planted flats of seeds until they are planting-ready seedlings. EGC uses seedlings grown in this program to fill our gardens – in schools, at homes of seniors and low-income residents, and at non-profits and other partner gardens.
By raising seedlings ourselves, we are able to ensure access to the types of plants most needed in our community, diversify the types of plants we are able to grow, and greatly reduce the cost of our gardening program so that we can provide more services – and thus more fresh produce – all around!
Interested in volunteering to foster seedlings? EGC distributes seedlings throughout the year, with larger distributions occurring in late January/early February and in August. Interested volunteers should keep an eye on our calendar for upcoming Seedling Starter Program opportunities, or can email volunteer@eachgreencorner.org for more information.
Read on for a how-to guide on raising your own seedlings. This information is also available on EGC’s Seedling Starter Program Guide.
Planting Your Seeds
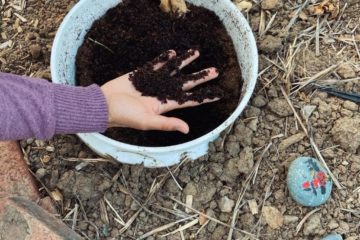
When planting your own seeds, use “new” soil or compost (if you compost). Molds and fungus often present in used soil can kill a seedling, so best to start with soil that has not been used to grow plants (particularly plants that died) and more likely to not have those molds or fungus.
The soil should be damp prior to planting the seeds. The soil should accept water rather than the water pooling on the top. Particularly with lightweight seeds such as lettuce, they will float away when you first water if the soil is dry.
Seeds should be planted at a depth about twice their height. For tiny seeds, sprinkle them in the tray or cells, then sprinkle a thin layer of soil on top. For larger seeds, place them on top, then gently push them down and rough up the surface to erase the indentation.
Because seeds depend on moisture to sprout, you can speed the process for larger seeds by soaking them before you plant them (e.g. peas, beans, squash, chard). The smaller seeds are too hard to handle when they are wet.
My seeds are planted (or I received a pre-planted tray from EGC) – what do I do now?
Now the fun begins! Or at least the waiting game…
Seeds require dampness to sprout.
As a general rule, keep your seeds evenly moist without flooding them or drying them out. Water early and often, as the seedlings will dry out quickly! If you have a tray with no holes, it is much harder to dry the seedlings, but also much more likely to rot them or drown them. Ideally seedlings will be planted in a tray with holes to provide adequate drainage and airflow.
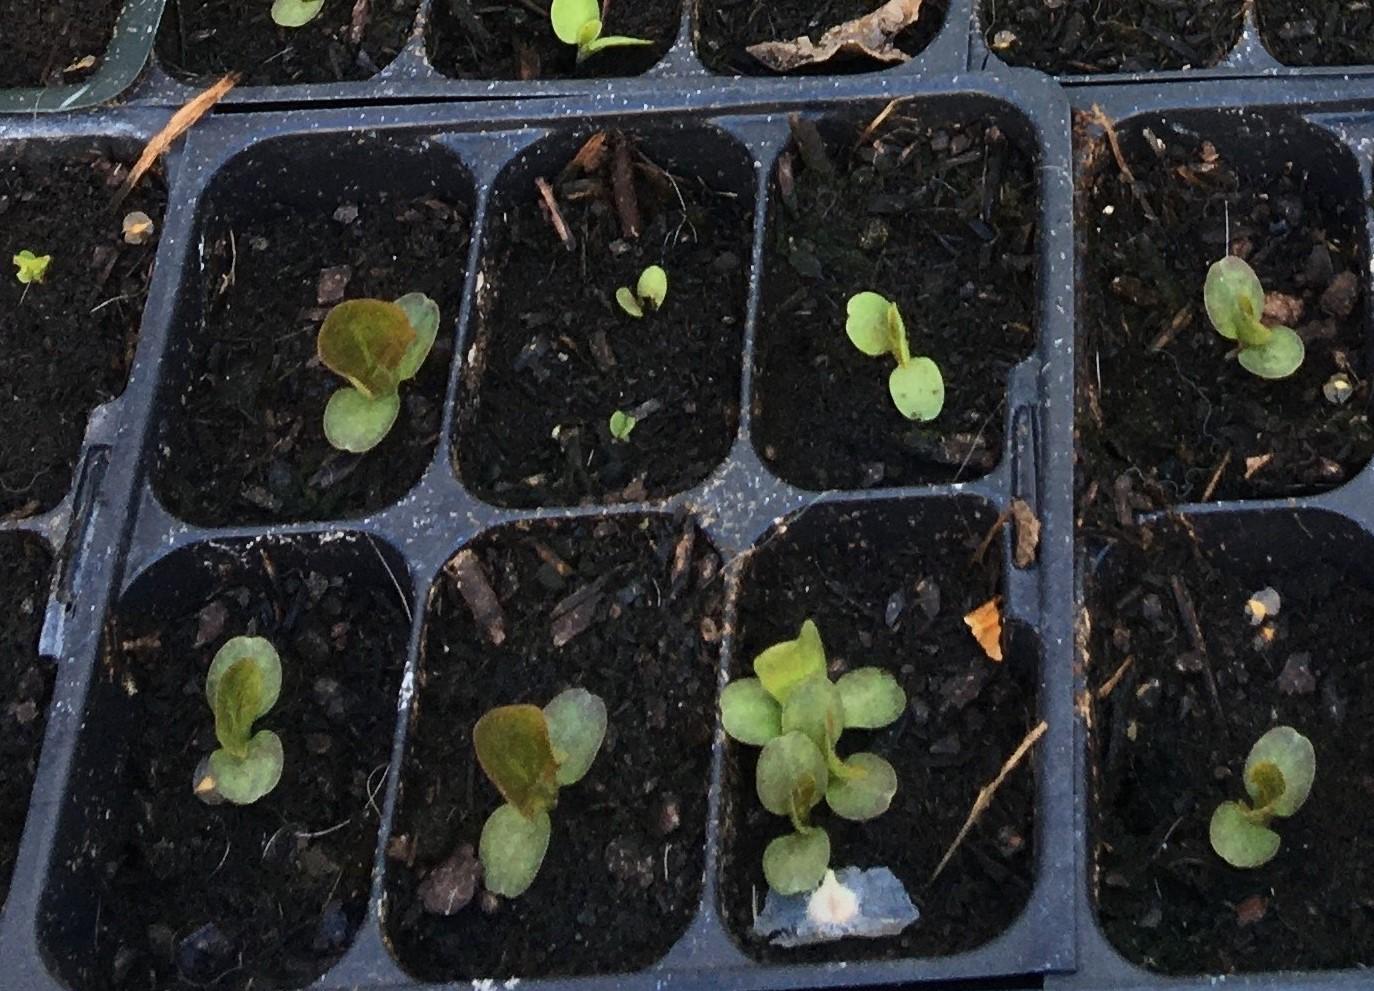
Keep an eye on the soil color for a visual indicator of when the seedlings are too dry. Usually the soil will turn a lighter color when drying out, meaning it is time to water. For reference, see the soil on the image. The top left and lower right side has turned lighter, indicating it is starting to dry out.
Seed flats received in the warmer months (May through September) can be kept in a sunny spot outdoors, safe from critters and birds. Seed flats received in the cooler months (October through April) should be kept indoors in a very sunny window or under a grow light, as should seeds that will be vulnerable to critters outdoors.
For seedlings housed outside, plan on watering twice daily until the seedlings sprout and have been above-ground for at least a week.
For seedlings housed indoors, depending on the humidity in your home, you need to water between twice daily and once every other day.
Houston, we have lift off!!!

Your seedlings have sprouted! Pat yourself on the back for those who have sprouted, and don’t beat yourself up for those that haven’t. A seed germination rate of 80% is stellar, and a rate of 50% is still good.
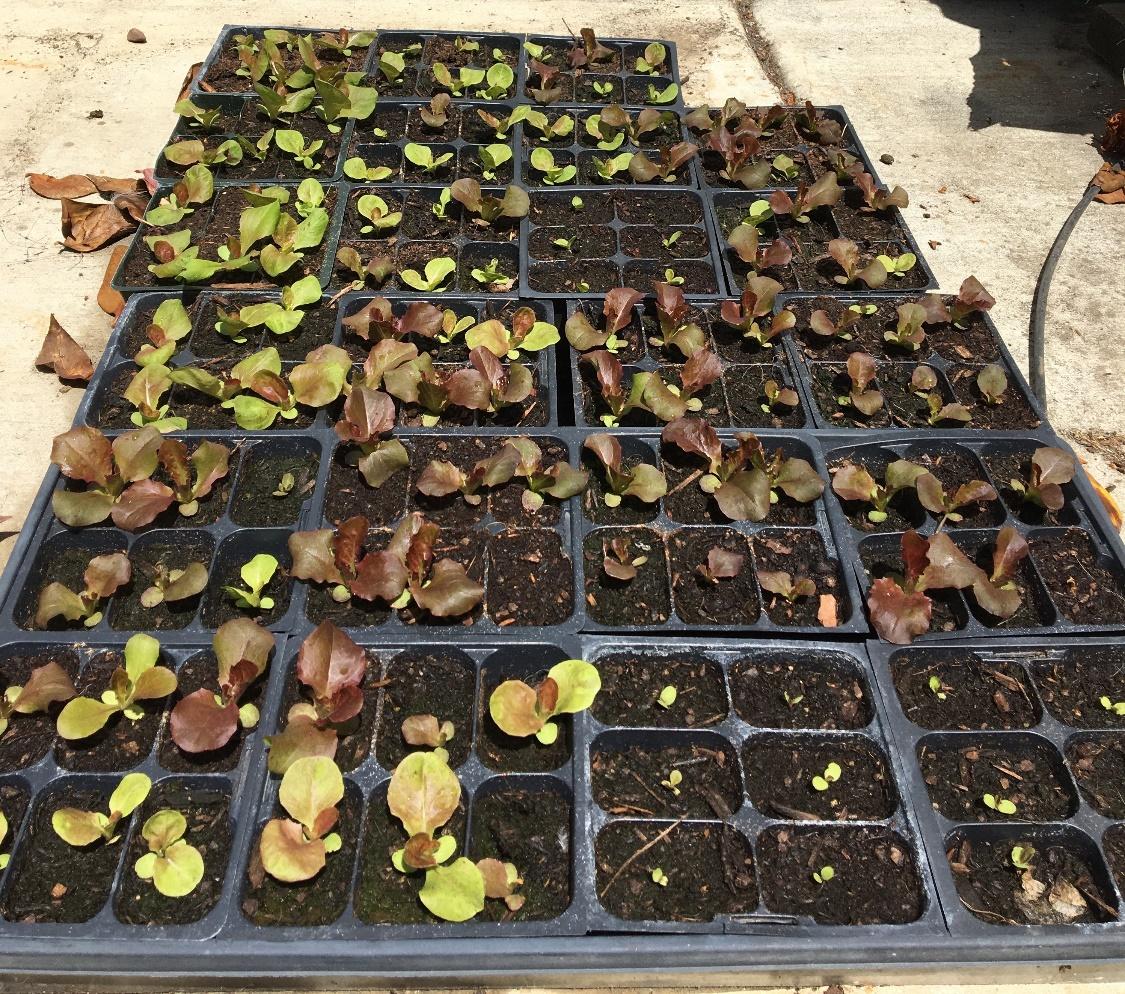
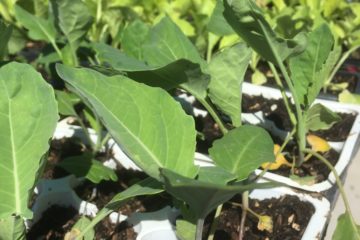
Once seeds have been sprouted for a full week, you will find that some of your cells have multiple seedlings and some have none. At this stage you can either (1) re-seed the cells that did not sprout, or (2) you can transfer seedlings from cells that have more than one to the cells that have none. The image below shows lettuce seedlings that were re-seeded along with larger ones that took the first time.
Transferring Seedlings
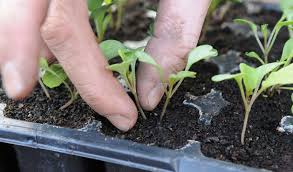
- Stick a toothpick or other small pointy object in the cell with the extra seedlings (the “donating cell”), to gently loosen the soil.
- Gently grab the top of the seedling you want to remove and pull with very gentle pressure. If you feel resistance, loosen the dirt more. If you pulled it up with at least 1/2” of taproot (the white part), then it should survive, even if you felt part of the root break off.
- Poke your toothpick in the cell with no seedling (“receiving cell”) to make a hole.
- Use your toothpick to gently feed the root into the hole up to the point where it is not white, and gently pat the dirt down around it. You should also gently tap down the soil in the donating cell.
- Water well, because this is stressful for the little guys!
Note for Chard: Chard is a great candidate for transferring seedlings because each chard seed sprouts 2-4 seedlings. Transfer one of the extra seed sprouts at a time, and leave the extras in the cells for at least another week. Sometimes the donated seedling doesn’t make it, and you want to be able to try again until you have a healthy seedling in each cell.
Thinning Seedlings (Pinch, Don’t Pull!)
About 2-3 weeks after your seedlings have sprouted, you should pinch off the extra seedlings. This may seem crazy or cruel after you’ve just finished patting yourselves on the back for getting them to sprout at all – now we want you to kill off most of them! That said, multiple seedlings fight for resources, and a cell is not large enough to support more than one seedling! If you have extra trays at home to transfer the extra seedlings into, please do. If you don’t, pinch away!
To pinch off the excess seedlings, pinch them below their two first leaves (“cotyledons”). Cotyledons are the first leaves that emerge on the seedling, but are not “true leaves” that will power your plant for the long haul. Pinching is much better than pulling out the roots, which can damage the seedling you are keeping.
In the photo above, most of the cells have one single lettuce seedling with three or more leaves. The cell in the bottom third spot, however, still has 3 separate seedlings growing. Identify the largest, healthiest looking seedling and pinch off the smaller two.
In contrast, one of the top row cells shows two sprouts that were late bloomers and have not been sprouted for 2-3 weeks. Hold off on pinching one of these until they have been sprouted at least 2-3 weeks.
From Indoors to Outdoors: Hardening the Seedlings
If you raised your seedlings indoors, it is important to harden them before turning returning them to EGC. “Hardening” is the process of acclimating them to being outdoors.
To harden the seedlings, put them outside during the day and bring them in at night for three to five nights. On Day 1, put them in a place that gets only morning sunlight. One Day 2, put them in a place that receives morning and some midday sun. On Day 3… you get the point. The transition should take three to five days, with the seedlings eventually happily weathering a full day in full sun. The more time you take, less likely your seedlings are to get burned by the sun!
When are seedlings ready to plant outside (or send off to Each Green Corner)?
At the very earliest, seedlings are ready to return when they have at least four true leaves. True leaves are the leaves that grow after the cotyledons, so don’t count those first cotyledons when you are determining whether your plant is ready to come back! Check out this great article to learn more about the difference between cotyledons and true leaves, including lots of visuals for various common vegetables.
Ideally, our foster families will keep seedlings for another two weeks after you hit this four leaf mark. This allows the plant to better establish itself and further harden off, spending day and night outside. These hardier plants will be fully ready to go out in our gardens shortly after we receive them, which help us conserve what little in-house plant storage space we have for our more complex projects.
Troubleshooting
See below for some FAQs (and answers!) for our Seedling Starter Program.
Why does my chard keep falling over?
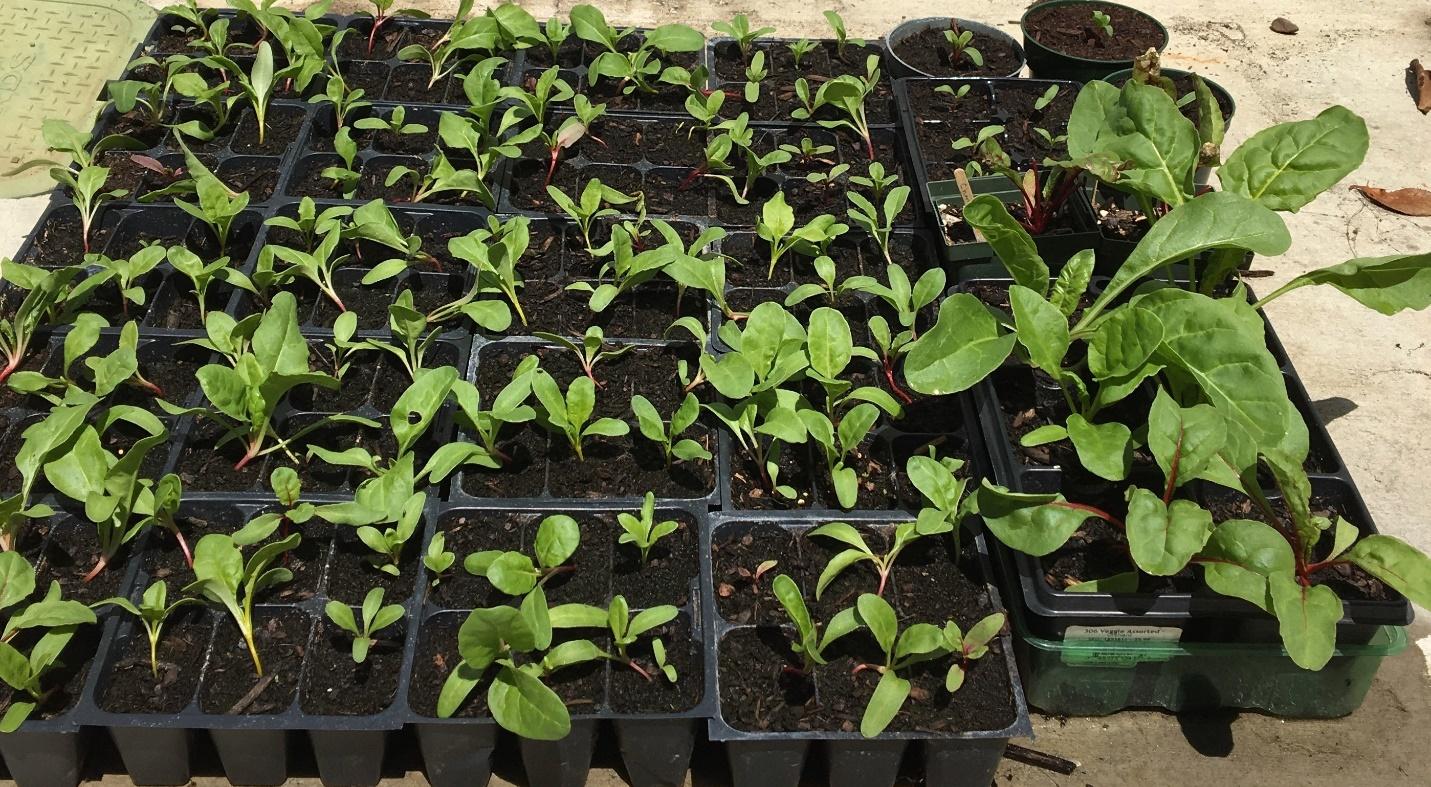
Chard does have a tendency to flop over sometime between getting its first two leaves and growing big enough to plant in the garden. The seedlings above on the left are all just recovering from the floppy stage. Each seedling will eventually get to be bigger on top than the size of the cell. In the above image, the largest of the chard on the right is almost large enough. At that point it is time to return them to Each Green Corner so they can get planted in one of the gardens!
Why do my seedlings have very long spindly stalks and small leaves?
It is likely that your seedlings are not getting enough sunlight. To remedy this, put them in a south-facing window if inside, or in an area that gets more sunlight if outside. Also if inside, you can create a solar reflector using a shoebox and some aluminum foil! Just line the shoebox with the foil (shine side showing), then place that box around the back side of your seedlings, so the seedlings are sandwiched between the window and the solar reflector.
My outdoor seedlings are missing their leaves!
Do you suddenly only have a few tiny stalks but no leaves? Check each cell group, looking underneath, and you will probably find some of the culprits nestled in the underside of one of your 6-pack cells! The likely culprits are snails or slugs dining on your seedlings. You need to either move the seed trays, elevate them, or put out snail bait (please do not put snail bait directly into your seedling trays!). For the seedlings that have already lost their leaves, you will need to re-plant or just call it a loss. The seedlings cannot recover from having their leaves eaten, even if the stalks are still there.
My outdoor seedlings are gone altogether!
If some of the seedlings are gone altogether or are pulled out by the roots, you likely have a bird or squirrel problem. If this is a persistent issue, try hanging out streamers or CDs to deter the birds. Squirrels are a bit trickier as they’re not deterred by the streamers and CDs. Try covering your seedling trays with a clear plastic box (e.g. lettuce boxes) or tented clear or white plastic sheeting. Be aware that this is going to greatly heat up the interior of your makeshift greenhouse, requiring more water and potentially some shade.
Why are my seedlings turning yellow?
Yellowing means you are likely over-watering. As seedlings grow, they are able to withstand more dryness in between waterings, and the roots need air. Scale back your watering routine to see if they green up again.
Oops! My seedlings dried out and now they are wilting.
It happens to the best of us! Water your seedlings well to get them back on track. At this point, that means water them a little, let it soak in, then water them again, let it soak in, and repeat until the water goes in readily. Do not otherwise touch the leaves. Some will spring back, and other won’t. It is pretty amazing what the leaves can recover from!
What are these curvy trails in my chard or beet leaves?
The Bay Area is home to the Leaf Miner Fly, a pest that lays its eggs on the underside of chard or beet leaves (as well as citrus leaves and a whole host of plants unrelated to our seedling program). They are tiny white eggs, usually laid in rows of 3 to 5 eggs. Once hatched, the maggot eats its way in between the leaf walls and dines on the leaf.
Inspect the underside of your seedling leaves daily, and wipe off any eggs you find. If you spot a maggot you can smoosh it to kill it, but you can’t undo the damage.
Because one fly can lay hundreds of eggs, an easier approach than daily examinations is to cover your seedlings with screen to prevent the flies from reaching them. This gives you the added benefit of having incredibly healthy chard plants because no other pests can reach them either. You don’t need to worry about pollinators, as unlike many garden veggies, chard and beets don’t need any pollination to do their thing!
If you have any questions about Each Green Corner’s Seedling Starter Program, including troubleshooting questions or questions about whether your seedlings are ready to be returned, please send an email to volunteer@eachgreencorner.org.
Written by Cindy Ievers, EGC Seedling Starter Program Lead Volunteer
0 Comments